
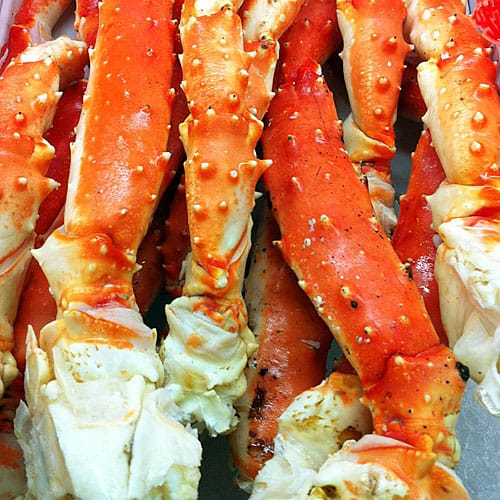
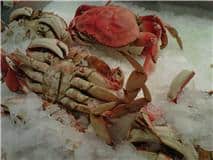
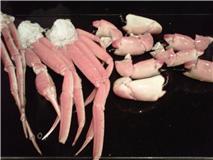
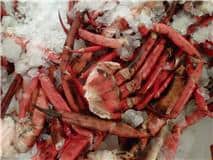
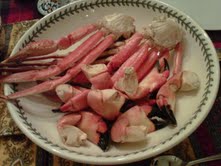
How To Cook Crab Legs
Aren’t sure how to cook crab legs? There are several methods available. Choose a cooking method based on your recipe or your level of cooking expertise.
- Microwave: If you are a beginner and have crab legs that you want to cook and serve easily, simply cook them in the microwave. To do this, place a few wet napkins or paper towels on top of the crab. Cook them for about three minutes at full power.
2. Boiling: If you have a little more time to cook the crab legs and you want to add your own seasonings, using the boiling method. Boil a pot of water and add the crab legs once the boil begins. After dropping them in the pot, turn down the heat to a simmer for a few minutes. The length of time will likely depend on the size of the crab legs and how many you are boiling. Add your own seasonings while the crab legs simmer.
3. Steaming: This method is only slightly more complicated and it is often considered the best method to cook crab legs. Place a steaming insert inside of a pot, fill with water, boil and place the crab in the steaming insert. The steam should only take about five minutes to cook the crab legs. If you don’t have a steaming insert you may use a colander or anything else that will allow the steam to heat the crab.
4. Grilling: Grilling is a great way to cook crab legs. To do this, just lay the crab on the grill with the shell facing down. Cook the crab legs like this for about five minutes. During this time, brush the crab with melted butter or sprinkle on the spices that you prefer
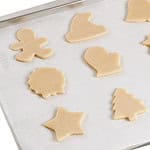

Parchment Paper
Parchment paper is an essential baking tool for lining cookie sheets and pans. You’ll always get great results. Just cut and line baking sheets and pans with either side of the parchment paper for even baking, quick release and easy clean-up. Foods cook right on the parchment paper, eliminating the need for additional oil or non-stick sprays.
Do Not use waxed paper instead of parchment paper. It will smoke up your oven.
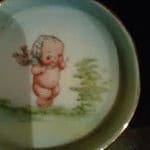
 I like to use unusual little dishes for small butter plates. I find them at thrift shops, antique shops and sometimes online. I grew up with Cupie Dolls so this dish is very dear to my heart.
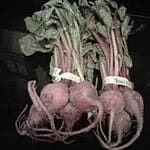
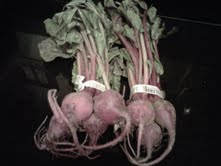 Fresh Beets
 Boil the beets until tender
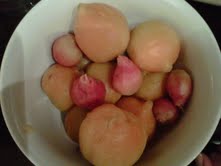
 To pickle beets use 1/3 cup malt vinegar, 3/4 cups water, salt, pepper, a bit of sugar, if you like, and sometimes I throw in red pepper flakes. Great for salads or alone. Make sure to put in the refrigerator. Keeps for a few weeks. I like to use red and golden beets. Remember that usually the smaller the beet the tastier. Adjust your vinegar to water ratio depending on how many beets you are cooking up.


a dash = 8 drops liquid
1 cup = 16 tablespoons
1 teaspoon = 60 drops
2 cups = 1 pint (16 fluid ounces)
3 teaspoons = 1 tablespoon
4 cups = 1 quart
4 tablespoons = 1/4 cup
4 quarts = 1 gallon
5 tablespoons + 1 teaspoon = 1/3 cup
1/8 cup = 2 tablespoons
8 tablespoons = 1/2 cup
1/3 cup = 5 tablespoons plus 1 teaspoon
16 tablespoons = 1 cup
2/3 cup = 10 tablespoons plus 2 teaspoons
2 tablespoons (liquid) = 1 ounce
3/4 cup = 12 tablespoons
1 cup = 8 fluid ounces, 1/2 pint
1 bushel = 4 pecks
1 jigger = 1 1/2 fluid ounces (3 tablespoons)
8 to 10 egg whites = 1 cup
12 to 14 egg yolks = 1 cup
2 cups granulated sugar = 1 pound
28 saltine crackers – 1 cup crumbs
4 slices bread = 1 cup crumbs
3 1/2 to 4 cups unsifted confectioners’ sugar = 1 pound
14 square graham crackers = 1 cup crumbs
2 1/4 cups packed brown sugar = 1 pound
22 vanilla wafers = 1 cup crumbs
7 ounces spaghetti = 4 cups cooked
3 1/2 cups unsifted whole wheat flour = 1 pound
1/4 pound crumbled Bleu cheese = 1 cup
1 stick butter = 1/2 cup or 1/4 pound
1 liter liquid = 1.06 quarts, 2.1 pints, 0.26 gallon
1 peck = 8 quarts
1 liter dry = 4.23 cups
1 gram = 1/3 ounce
1 cup = 250 milliliters (ml)
1 dram = 1/16 ounce
1/4 cup = 62 1/2 milliliters (ml)
1 kilo = 2.20 pounds
1 tablespoon = 15 milliliters (ml)
1 meter = 39.37 inches
1 teaspoon = 5 milliliters (ml)
1 kilogram = 2.2 pounds
1 pint = 570 ML (1)
1 gallon = 4.54 liters (1)
1 quart = 1.14 liter (l)
1 ounce (28g) ungrated cheese = 1/4 cup (50ml) grated
2 ounces (56g) ungrated cheese = 1/2 cup (125ml) grated
4 ounces (100g) ungrated cheese = 1 cup (250ml) grated
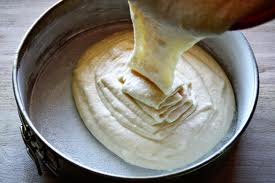
What’s the deal with springform pans?
A springform pan is round with 2 to 3 inch high side. What makes it special is that the side is not attached to the bottom. When the side spring (or clamp) is released, the side loosens and can be removed, leaving the dessert on the pan bottom, where it easily can be sliced and served. Resist the temptation to use a regular cake pan for desserts that specifically call for a springform pan. They simply can’t hold the same volume, and removal of the dessert (especially cheesecakes) will be close to impossible.

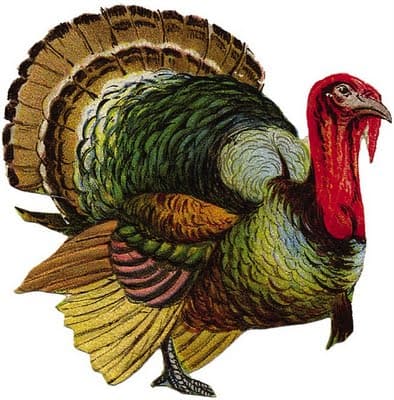 How to Carve a Turkey
- Let the turkey rest 20 to 25 minutes after removing from the oven.
- Remove the leg and thigh by slicing down through the ball joint that connects the thigh to the body.
- If the turkey is stuffed, remove the stuffing at this time.
- Remove one side of the breast. Start at the breast bone and work your knife along the curve of one side of the rib cage.
- When you’ve cut down as far as you can go, make a horizontal cut along the bottom and remove the breast in one piece.
- Place the breast on a serving platter or cutting board and cut slices from the breast.
- Separate the thigh meat from the bone with your fingers.
- Serve the drumsticks whole or remove the meat with your fingers being careful to remove the tendons as you go.


